
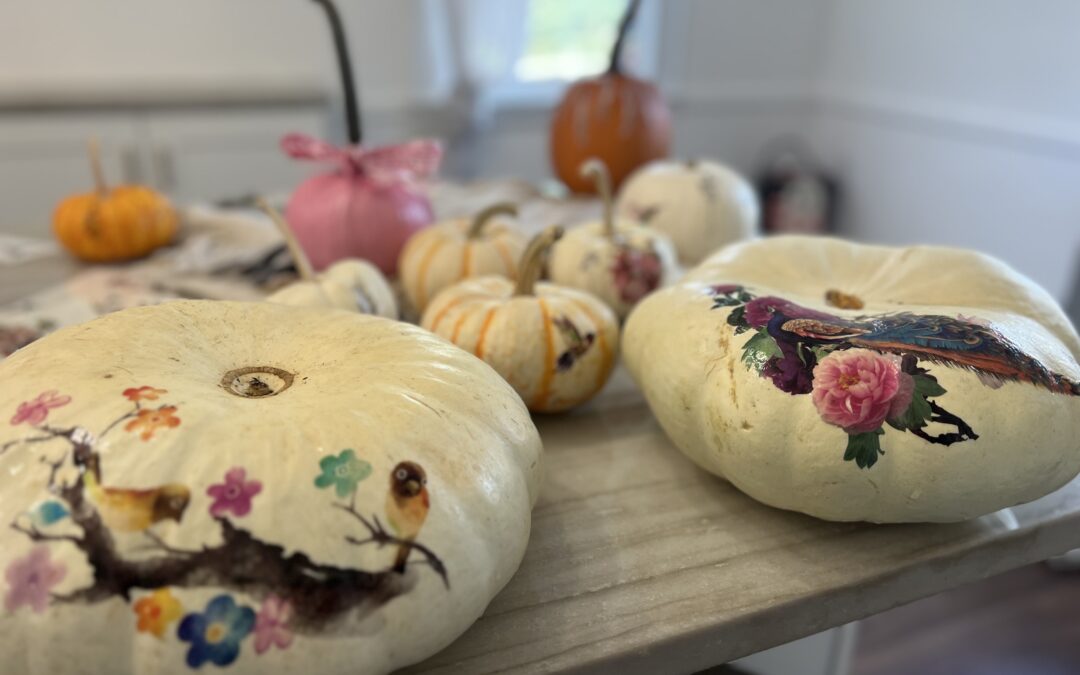
We met up with the creative and lovely Elisabeth Wolfson of Hairdolini to learn how to make these beautiful, no-mess pumpkins. These are perfect for a Thanksgiving centerpiece! Check out the three-part video to see exactly how it’s done!
What you’ll need:
Pumpkins, gourds, or any seasonal squash of your liking
Rubbing alcohol to clean the pumpkins
Temporary tattoos
Modge Podge
A flat brush paintbrush
Papertowels
Water
Instructions:
Clean your pumpkins using rubbing alcohol to remove any dirt or oil from hands. Dry thoroughly using a rag or paper towel.
Once dry, pick out a temporary tattoo of your liking (we used hummingbirds and flowers, but a quick search will turn up a variety of options on Amazon).
Peel off the plastic cover on the tattoo, and place tattoo down against the pumpkin. Take a wet paper towel and firmly press it over the tattoo, pushing against the pumpkin – we recommend doing this over a sink if possible.
Slowly peel back the tattoo from the pumpkin. If it hasn’t yet transferred, continue to firmly press the tattoo down on the pumpkin until done.
Once done gently remove the white paper backing. If any areas of the tattoo are raised, gently press them down onto the pumpkin.
Continue to repeat these steps with as many tattoos as you’d like – it’s your design!
Once completely dry, pour modge podge into a glass bowl. Using a flat paint brush, pain a thin coat of modge podge over the pumpkin.
Allow to dry – you’re all done!